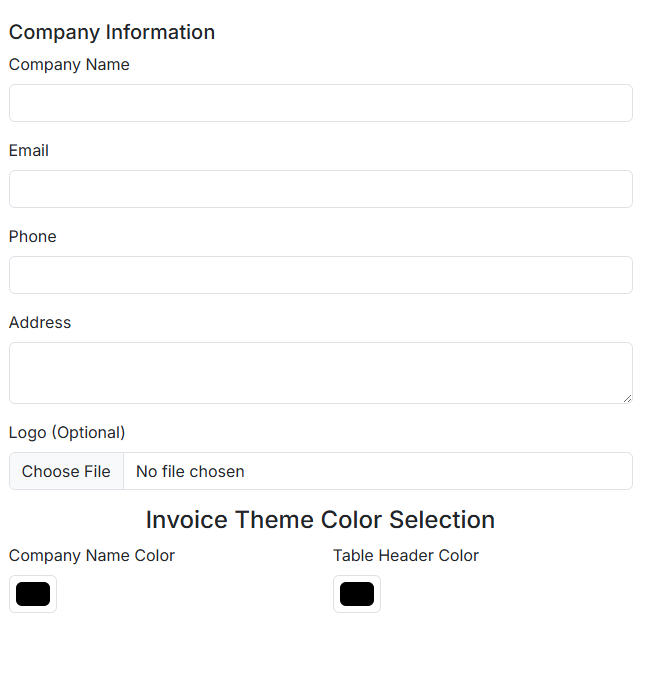
Step 1: Enter Your Business Information
Start by providing your business's information. This includes your company details. Upload your company's logo and select the colors that represent your company's branding. This ensures your invoices look professional and are ready to send.
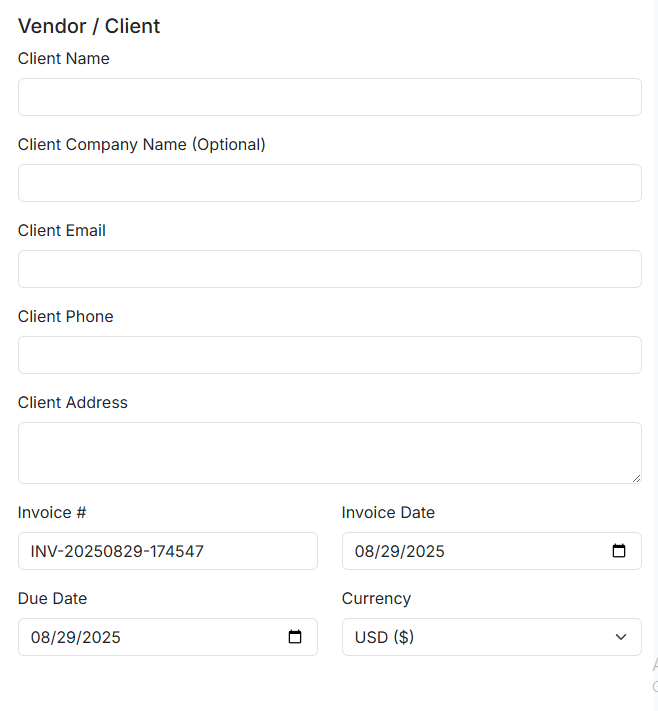
Step 2: Add Client and Invoice Details
Enter your client's details. Our invoice generator will automatically assign a unique invoice number for you. The Invoice Date will be pre-filled with the current date, but you can change it if needed.
You'll also find a new Currency dropdown. Select your preferred currency, and our tool will automatically format all price fields for you, from line items to the grand total.
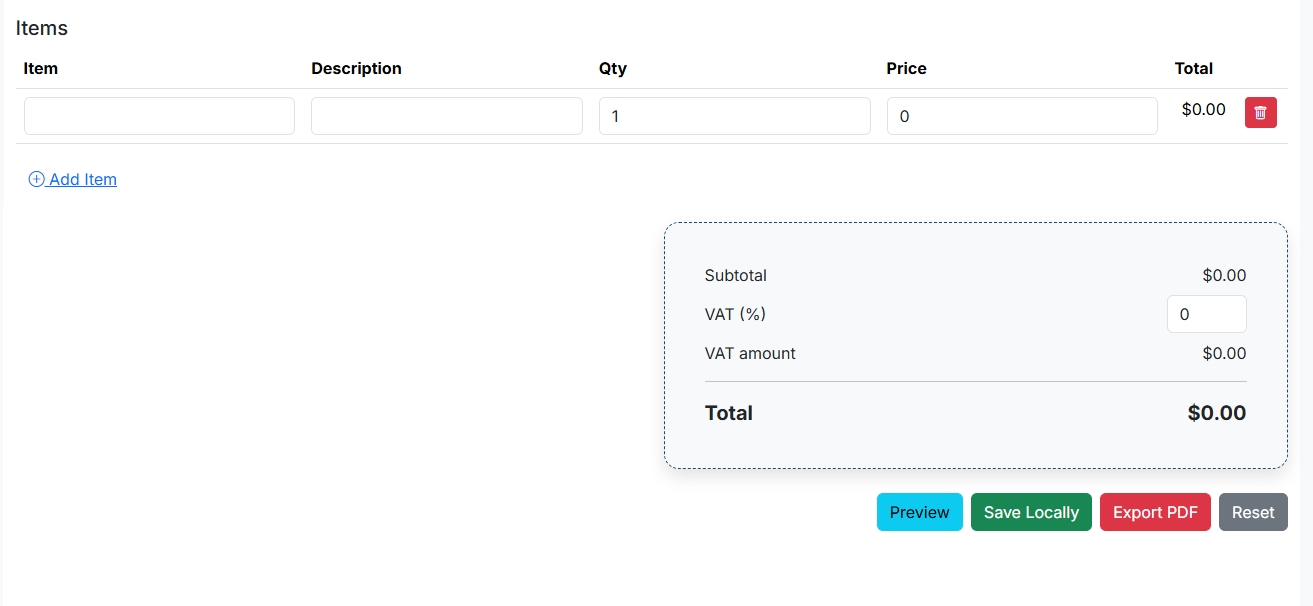
Step 3: List Your Items and Services
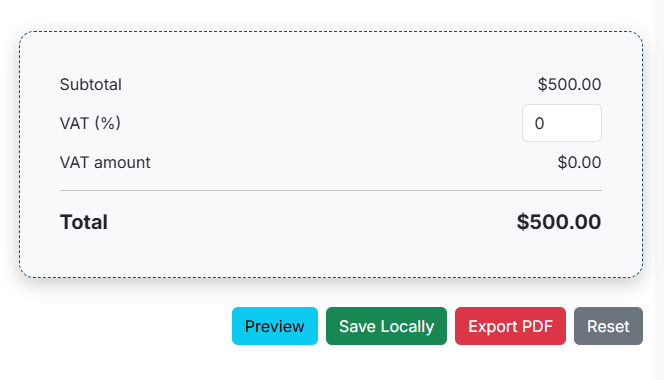
Use the "Add Item" button to add each product or service to your invoice. For each line item, enter a description, quantity, and price. Our online invoicing tool automatically calculates the line total and updates the subtotal and grand total in real time. You can also add a VAT percentage if needed.
Step 4: Add Payment Information
Once all your line items are in, you can specify your payment terms. The Payment Terms dropdown lets you choose from standard options as you need. If you need more flexibility, simply select Custom to enter your own terms, like "50% upfront." This makes sure your the client knows exactly when the payment is expected.

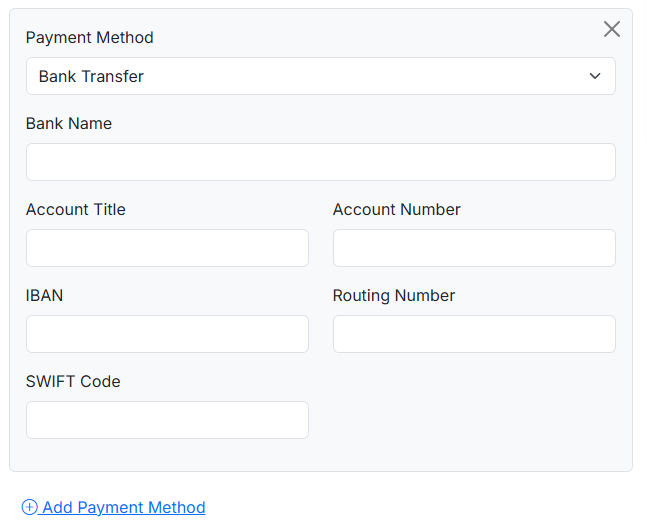
Step 5: Specify Payment Methods
To help your clients pay you faster, you can add your preferred payment methods. Use the "Add Payment Method" button to include details for bank transfers, online payment services (like PayPal or Stripe), or any other way you accept payments. This makes the payment process seamless and reduces follow-up time.
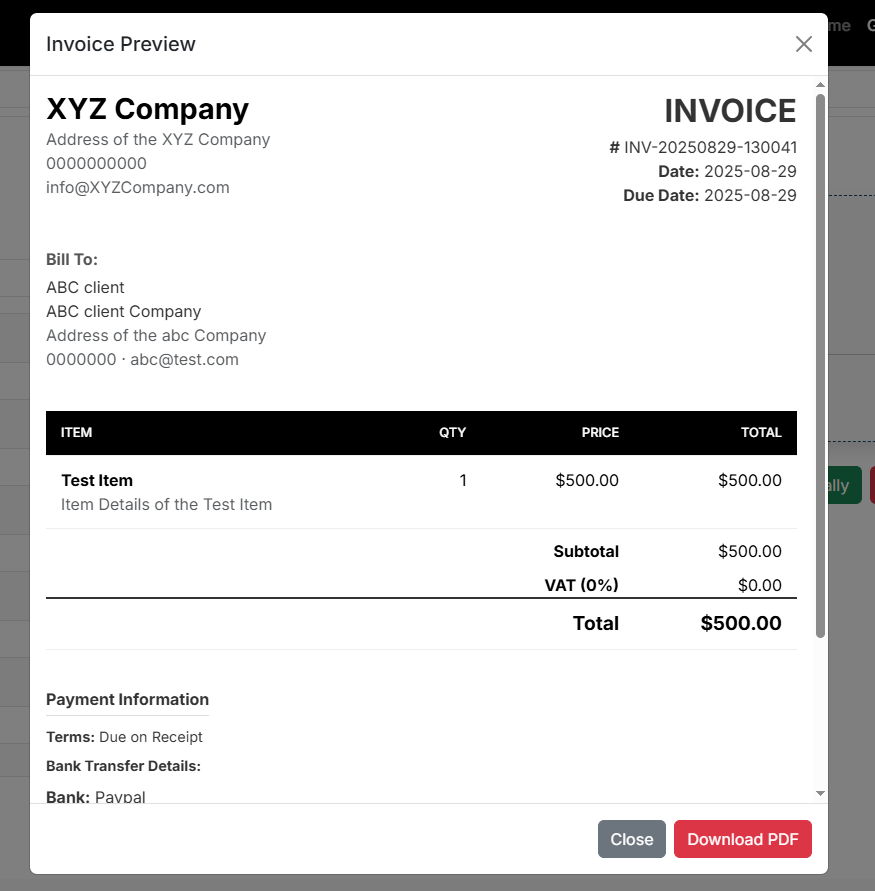
Step 6: Preview Your Invoice
Prior to completing anything, you are able to preview your invoice. This feature presents a comprehensive, professional display of the ultimate document's appearance, encompassing your logo, colors, and every detail you included. It is an excellent approach to review for any mistakes before saving or dispatching the file.
Step 7: Save and Download Your Invoice
When you're happy with the preview, you have a few options:
- Preview: If you want to see how your invoice looks before saving or downloading, just click the "Preview" button. This gives you a full view of the final document.
- Save to Local Storage: Click the "Save" button to store your invoice securely in your browser's local storage. This way, you can easily access and manage it later from the "Saved Invoices" page.
- Download as PDF: Hit the "Download PDF" button to get a high-quality PDF version of your invoice. This file is perfect for emailing to clients or keeping for your records.
- Reset - If you want to start over, the "Reset" button clears all fields so you can create a new invoice from scratch.
Need more help?
If you have any questions about using our free invoice manager, feel free to contact us or visit our FAQ page.
Contact Support